엘라스틱서치 유사 이미지 검색
소개
안녕하세요.
이번에 유사 이미지 검색을 구현할 수 있는 방법을 찾다가 엘라스틱서치로도 이를 구현할 수 있어 소개하려고 합니다.
유사 이미지 검색 이란?
말 그대로 이미지가 유사한 다른 이미지를 검색하는 것 입니다.
방식으로는 딥러닝, 벡터 유사도 방식 등 여러 방식이 있고 대표적으로 사용되는 라이브러리는 opencv, faiss 등이 있습니다.
순서
순서는 아래와 같습니다.
색인 시
- 1) 상품 정보와 이미지 url을 같이 받아온다
- 2) 이미지 url에서 이미지를 다운로드 받는다
- 3) 이미지를 벡터화 한다
- 4) 벡터화 한 이미지를 엘라스틱서치에 넣는다
검색 시
- 1) 이미지 url을 받는다
- 2) 이미지를 벡터화 한다
- 3) 벡터화한 이미지로 엘라스틱서치에서 찾는다
색인
1) 상품 정보와 이미지 url을 같이 받아온다
저는 내부에 있는 다른 ES에서 정보를 가져왔습니다.
만약 실제로 구성하게 된다면 이 부분은 수정이 필요할 것입니다.
def search(self):
        index = "target"
        body = {
            "query": {
                "match_all": {}
            },
            "size": 10000
        }

        result = []
        response = self.elasticsearch.search(index=index, body=body)

        for item in response['hits']['hits']:
            info = item['_source']['productInfo']
            url = item['_source']['imageUrl']
            result.append({ "info": info, "url": url})

        return result
2) 이미지 url에서 이미지를 다운로드 받는다
def download(self, title, url):
        try:
            url = Request(url, headers={'User-Agent': 'Mozilla/5.0'})
            read_img = urlopen(url).read()
            filepath = f"download/{title}.jpg"
            with open(filepath, mode='wb') as f:
                f.write(read_img)
        except:
            pass
3) 이미지를 벡터화 한다
import numpy as np
from keras.applications import InceptionResNetV2
from keras.applications.inception_resnet_v2 import preprocess_input
from keras.models import Model
from keras_preprocessing import image

    def vectorize(self, filepath):
        model = InceptionResNetV2()
        layer_name = 'avg_pool'
        intermediate_layer_model = Model(inputs=model.input, outputs=model.get_layer(layer_name).output)

        img = image.load_img(filepath, target_size=(299, 299))
        x = image.img_to_array(img)
        x = np.expand_dims(x, axis=0)
        x = preprocess_input(x)
        intermediate_output = intermediate_layer_model.predict(x)
        return intermediate_output[0]
4) 벡터화 한 이미지를 엘라스틱서치에 넣는다
여기서 주의깊게 보아야 할 부분은 엘라스틱서치 인덱스의 dense_vector 프로퍼티입니다.
최근 버전에서는 kNN_search나 해당 필드안에 여러 알고리즘을 넣을 수 있게 되었으나 제가 테스트 한 버전은 최신 버전이 아니기 때문에 아래와 같이 인덱스 매핑을 구성하였습니다.
또한, 이 매핑을 사용하게 된다면, script_score라는 엘라스틱서치의 또 다른 쿼리를 이용하게 됩니다.
위의 내용들에 대한 자세한 설명은 공식 사이트를 참조해 주시기 바랍니다.
def create_vectorized_index(self):
        check_list = self.elasticsearch.cat.indices(params={"format": "json"})
        for item in check_list:
            if item['index'] == 'vector-test':
                return

        index = "vector-test"
        body = {
            "mappings": {
                "properties": {
                    "productInfo": {
                        "type": "keyword"
                    },
                    "vector": {
                        "type": "dense_vector",
                        "dims": 1536
                    }
                }
            }
        }

        self.elasticsearch.indices.create(index, body=body)

def index_to_vector(self, info, vector):
        index = "vector-test"
        doc = {
            'productInfo': info,
            'vector': vector
        }

        response = self.elasticsearch.index(index=index, body=doc)
        return response
검색
1) 이미지 url을 받는다
def download(self, title, url):
        try:
            url = Request(url, headers={'User-Agent': 'Mozilla/5.0'})
            read_img = urlopen(url).read()
            filepath = f"download/{title}.jpg"
            with open(filepath, mode='wb') as f:
                f.write(read_img)
        except:
            pass
2) 이미지를 벡터화 한다
import numpy as np
from keras.applications import InceptionResNetV2
from keras.applications.inception_resnet_v2 import preprocess_input
from keras.models import Model
from keras_preprocessing import image

    def vectorize(self, filepath):
        model = InceptionResNetV2()
        layer_name = 'avg_pool'
        intermediate_layer_model = Model(inputs=model.input, outputs=model.get_layer(layer_name).output)

        img = image.load_img(filepath, target_size=(299, 299))
        x = image.img_to_array(img)
        x = np.expand_dims(x, axis=0)
        x = preprocess_input(x)
        intermediate_output = intermediate_layer_model.predict(x)
        return intermediate_output[0]
3) 벡터화한 이미지로 엘라스틱서치에서 찾는다
 def search_for_vector(self, vector):
        index = "vector-test"
        body = {
            "query": {
                "script_score": {
                    "query": {"match_all": {}},
                    "script": {
                        "source": "1 / (1 + l2norm(params.query_vector, doc['vector']))",
                        "params": {
                            "query_vector": vector
                        }
                    }
                }
            }
        }

        response = self.elasticsearch.search(index=index, body=body)

        return response['hits']['hits']
테스트
테스트 할 이미지는 아래와 같습니다.

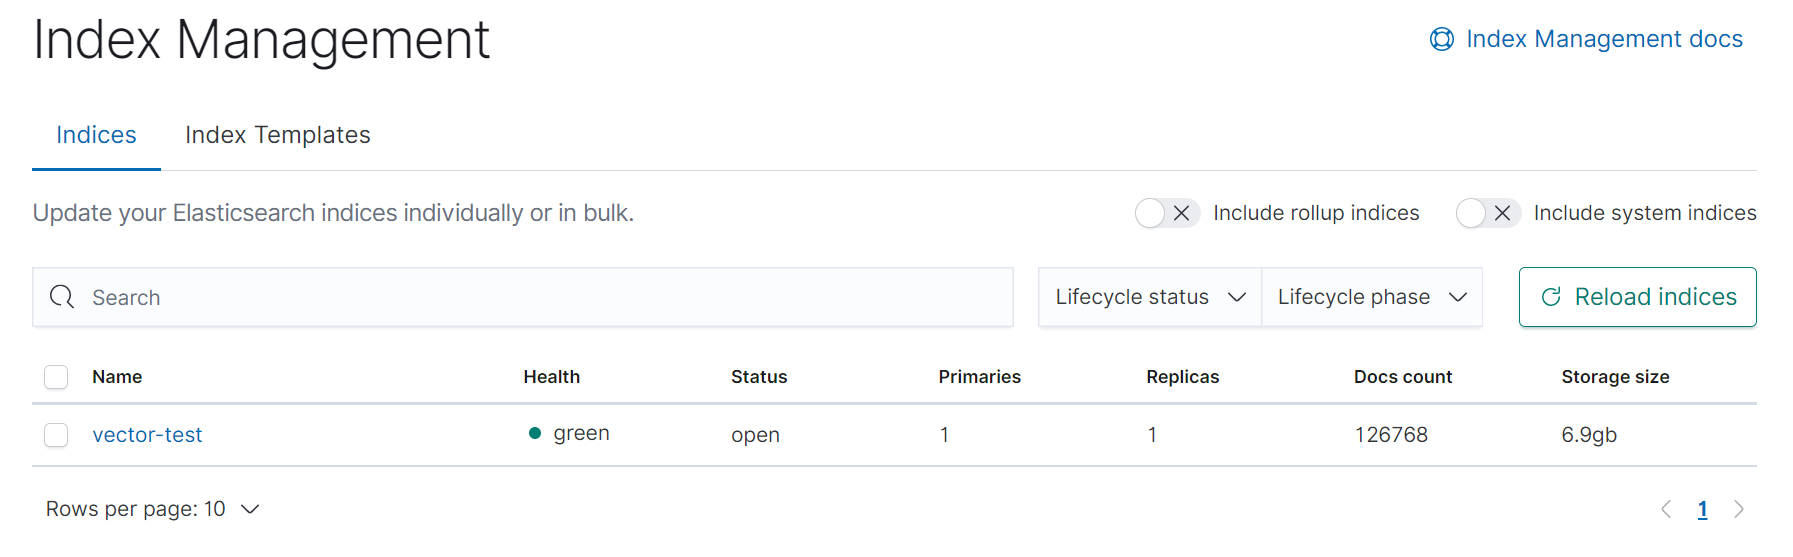
약 12만건의 데이터를 학습시켜 유사한 이미지 10개를 뽑아보겠습니다.
테스트 할 엘라스틱서치의 사양은 3대의 클러스터를 로컬에서 구축하였고, 각 2g씩의 메모리를 가졌습니다.
또한, 저장소로는 HDD 1T로 구성하였습니다.
테스트 결과
결과까지 걸린 시간
- 21029 ms (= 21 초)


마무리
최근 유사 이미지 검색의 추세는 머신러닝이지만, 이런 벡터 유사도를 통해서 구하는 이미지 유사도 검색도 성능이 잘 나오는 것 같습니다.
머신러닝은 러닝커브가 있는 편이기에 먼저 동작하는 프로토타입을 작성하실 때에 고려해 볼 만 할 것 같습니다.
또한, 엘라스틱서치에도 이러한 기능이 있는 것을 알게 되었고, 좀 더 ES 도입을 고려할 때 많은 부분을 생각해 볼 수 있을 것 같습니다.
감사합니다.