도커 컴포즈를 이용한 프로메테우스 설치
하선호
2020.03.16.
프로메테우스?
- 프로메테우스는 오픈소스기반의 모니터링 솔루션이며 모니터링 대상이 되는 metric 정보를 pull 방식으로 수집합니다. 공식적으로 제공하는 exporter뿐만 아니라 여러 Third-pary exporter를 통하여 다양한 플랫폼을 모니터링 할 수 있는 장점이 있습니다.

- 여기서는 도커 컴포즈를 통하여 프로메테우스와 그라파나를 설치하고 Node-Exporter를 통해 받아온 Metric 정보로 그라파나 대시보드를 구성해보겠습니다.
설치 및 구성
1. 구성 환경
CENTOS 7.8
DOCKER 19.03.5, build 633a0ea
DOCKER-COMPOSE 1.25.3, build d4d1b42b
2. docker-compose.yml 작성
- 공식적으로 설정된 포트들이 이미 사용중임에 따라 다른 포트로 대체하였습니다.
version: '3.7'
services:

  # 직접 설치로 대체
  #node:
  #  image: prom/node-exporter
  #  container_name: node-exporter
  #  ports:
  #    - 9101:9100
  #  networks:
  #    - prometheus-network

  prometheus:
    image: prom/prometheus:v2.16.0
    container_name: prometheus
    network_mode: "host"
    command:
      - '--web.listen-address=0.0.0.0:9099'
      - '--config.file=/etc/prometheus/prometheus.yml'
      - '--storage.tsdb.path=/prometheus'
      - '--web.console.libraries=/etc/prometheus/console_libraries'
      - '--web.console.templates=/etc/prometheus/consoles'
      - '--storage.tsdb.retention.time=200h'
      - '--web.enable-lifecycle'
    volumes:
      - /data/prometheus:/etc/prometheus
      - /data/prometheus/data:/prometheus
    ports:
      - 9099:9099
    networks:
	  - prometheus-network

  grafana:
    container_name: grafana
    image: grafana/grafana:6.6.2
    environment:
      - GF_SECURITY_ADMIN_USER=user1
      - GF_SECURITY_ADMIN_PASSWORD=user1
      - GF_USERS_ALLOW_SIGN_UP=false
    volumes:
      - /data/grafana/data:/var/lib/grafana
      - /data/grafana/provisioning:/etc/grafana/provisioning
    ports:
      - 9900:3000
    depends_on:
      - prometheus
    networks:
      - prometheus-network

networks:
  prometheus-network:
부가 설명
- 도커에서 노드 익스포터를 실행하는 것은 권장하지 않는다고 합니다. 이유는 도커는 머신의 내부동작과 컨테이너를 격리시키려고 하기 때문에 노드 익스포터에서 내부 동작 결과가 잘동작하지 않을 수 있기 때문입니다.
- #node:
  #  image: prom/node-exporter
  #  container_name: node-exporter
  #  ports:
  #    - 9101:9100
  #  networks:
  #    - prometheus-network
- 컨테이너에서 호스트에 떠있는 프로세스로 접근이 안되어 NETWORK MODE를 HOST로 설정하였습니다.
network_mode: "host"
- 기존 구성 환경에서는 이미 기본포트가 쓰이고 있기 때문에 별도 설정을 통해 포트를 변경하였으며 config 파일 경로를 지정하였습니다.
command:
      - '--web.listen-address=0.0.0.0:9099'
      - '--config.file=/etc/prometheus/prometheus.yml'
- 컨테이너 종료시에 데이터가 삭제될 수 있으므로 HOST의 볼륨 경로를 지정하였습니다.
volumes:
      - /data/prometheus:/etc/prometheus
      - /data/prometheus/data:/prometheus
3. prometheus.config 작성
-
환경설정 파일을 작성합니다
-
매트릭 수집 주기 설정
# my global config
global:
  scrape_interval:     15s # 15초 주기로 매트릭 수집
- 익스포터 설정
- 추가 될 때 마다 해당 형식으로 설정 파일내에 추가합니다.
# Exporter 설정
  - job_name: 'kube1'    # 사용할 이름
    scrape_interval: 10s # 주기
    static_configs:      # 익스포트 프로세스 설정
    - targets: ['prom1.danawa.com:9110','prom1.danawa.com:9111']
prometheus.config
# my global config
global:
  scrape_interval:     15s # Set the scrape interval to every 15 seconds. Default is every 1 minute.
  evaluation_interval: 15s # Evaluate rules every 15 seconds. The default is every 1 minute.
  # scrape_timeout is set to the global default (10s).

# Alertmanager configuration
alerting:
  alertmanagers:
  - static_configs:
    - targets:
      # - alertmanager:9093

# Load rules once and periodically evaluate them according to the global 'evaluation_interval'.
rule_files:
  # - "first_rules.yml"
  # - "second_rules.yml"


# A scrape configuration containing exactly one endpoint to scrape:
# Here it's Prometheus itself.
scrape_configs:
  - job_name: 'prometheus'

    static_configs:
    - targets: ['127.0.0.1:9099']

  # Exporter 설정
  - job_name: 'prom1'
    scrape_interval: 10s
    static_configs:
    - targets: ['prom1.danawa.com:9110','prom1.danawa.com:9111']

  - job_name: 'prom2'

    static_configs:
    - targets: ['prom2.danawa.com:9110']

  - job_name: 'prom3'

    static_configs:
    - targets: ['prom3.danawa.com:9110']
4. docker-compose 실행
docker-compose up -d

결과
Creating network "prometheus_prometheus-network" with the default driver
Creating node-exporter ... done
Creating prometheus    ... done
Creating grafana       ... done
5. node-exporter 설치
## 사용버전 0.18.1
## node-exporter의 기본 포트는 9100이지만 구성 환경에서 이미 사용중인 포트이므로 임의의 포트로 설정하여 기동하였습니다.

1. wget https://github.com/prometheus/node_exporter/releases/download/v0.18.1/node_exporter-0.18.1.linux-amd64.tar.gz

2. tar xvfz node_exporter-0.18.1.linux-amd64.tar.gz

3. mv node_exporter-0.18.1.linux-amd64/node_exporter /usr/local/bin/

4. /usr/local/bin/node_exporter --web.listen-address=:9110
- 확인 : http://prom1.danawa.com:9110/metrics - 기본포트 9100
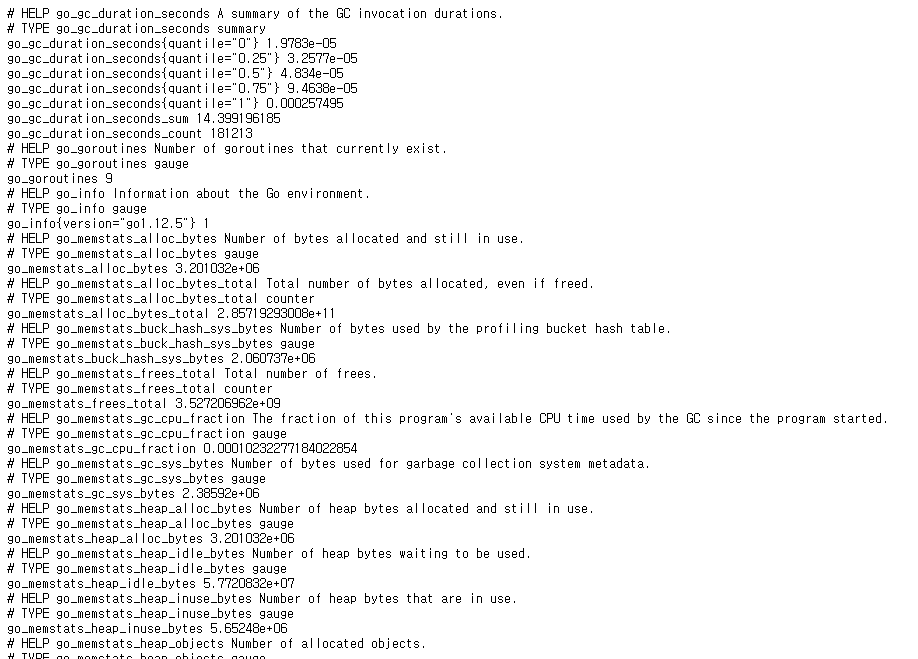
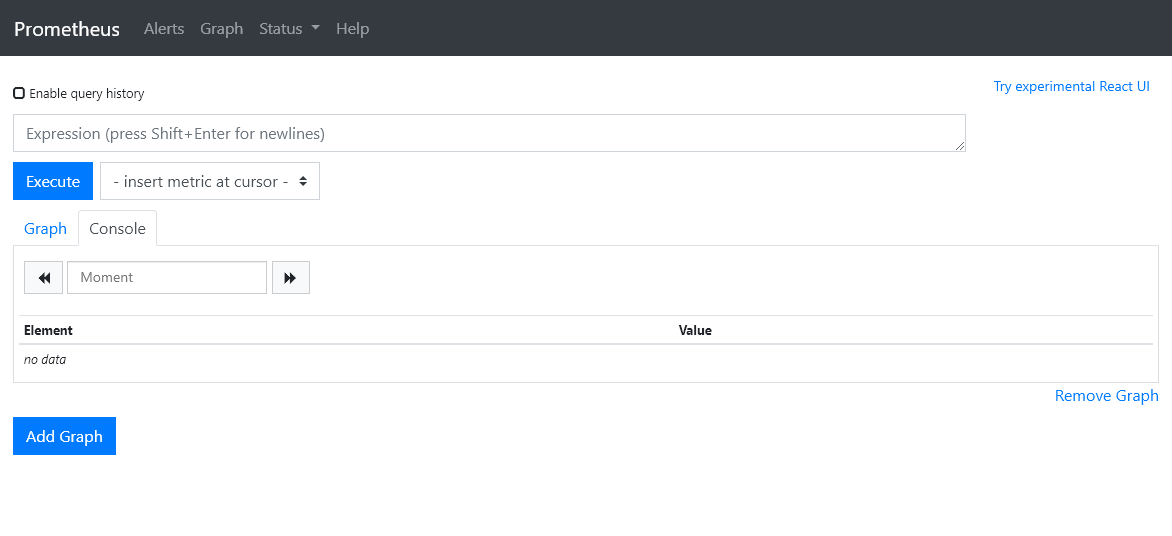
6. prometheus 확인
http://prom1.danawa.com:9099 - 기본포트 9090
- 익스포터로 수집된 메트릭정보를 조회해 볼 수 있습니다.
- PROMQL을 사용해 데이터를 집계 할 수 있습니다.
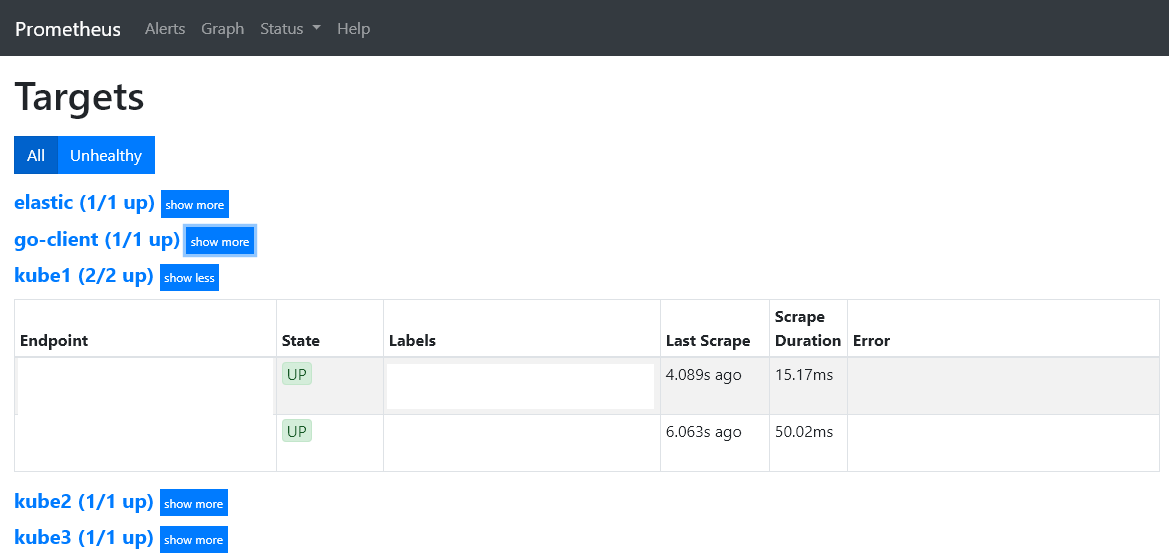
http://prom1.danawa.com:9099/targets
- 익스포터의 상태를 확인 할 수 있습니다.
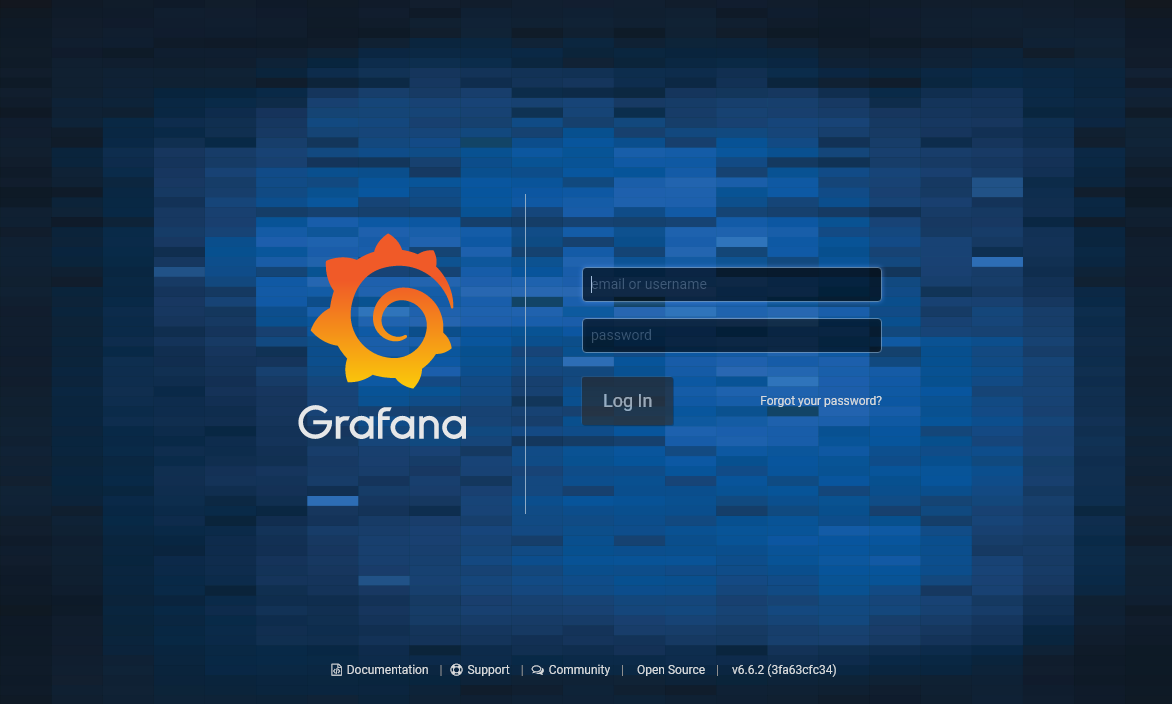
6. grafana 확인
http://prom1.danawa.com:9900 - 기본포트 3000

설치 이후
- 다음 블로그에서 프로메테우스로 수집된 메트릭으로 그라파나를 통해 UI로 구성하는 방법을 알아보겠습니다.
참고 자료
- https://prometheus.io/docs
- 프로메테우스 - 오픈소스 모니터링 시스템 (출판사 : 책만 / 2019-10)